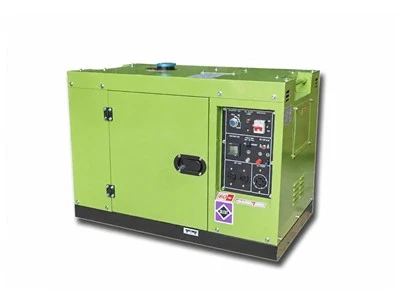
Hey there! As a supplier of 6.6kv Diesel Genset, I often get asked about how to maintain these bad boys. One of the most important maintenance tasks is replacing the air filter. In this blog, I'll walk you through the process step by step.
Why Replace the Air Filter?
First off, let's talk about why replacing the air filter is so crucial. The air filter in a 6.6kv Diesel Genset plays a vital role in keeping the engine running smoothly. It prevents dirt, dust, and other contaminants from entering the engine. Over time, the filter gets clogged, which restricts the airflow to the engine. This can lead to a decrease in power output, reduced fuel efficiency, and even engine damage. So, replacing the air filter at regular intervals is a must to ensure the longevity and performance of your genset.
Tools You'll Need
Before you start, gather the following tools:
- A socket wrench set
- A flathead screwdriver
- A new air filter (make sure it's the right size and model for your 6.6kv Diesel Genset)
- A clean cloth or rag
Step 1: Safety First
Safety should always be your top priority when working on any machinery. Make sure the genset is turned off and has cooled down completely. This will prevent any risk of burns or electrical shocks. Also, wear appropriate safety gear, such as gloves and safety glasses.
Step 2: Locate the Air Filter Housing
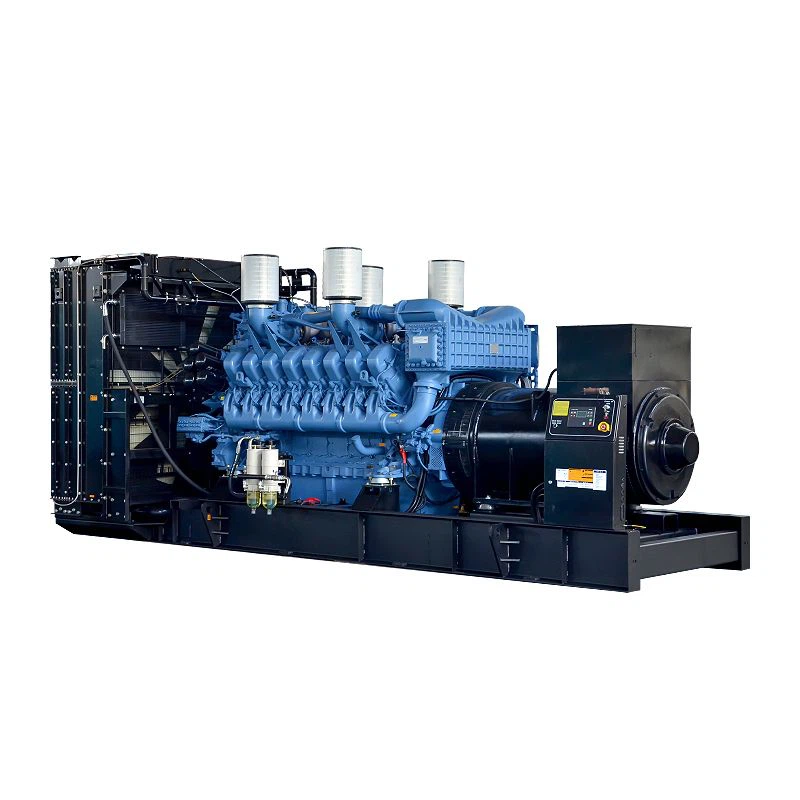
The air filter housing is usually located on the side of the genset. It's a large, rectangular or cylindrical box with a cover. You may need to refer to your genset's manual to find the exact location if you're having trouble.
Step 3: Remove the Air Filter Housing Cover
Use your socket wrench to remove the bolts or screws that hold the cover in place. Some covers may also have clips or latches that you can release with a flathead screwdriver. Once the cover is loose, carefully lift it off and set it aside.
Step 4: Take Out the Old Air Filter
Inside the housing, you'll find the old air filter. Gently lift it out and inspect it. If it's dirty, clogged, or damaged, it's definitely time for a replacement. You can use the clean cloth or rag to wipe out any debris or dust from the housing while you're at it.
Step 5: Install the New Air Filter
Take the new air filter and make sure it's the right way up. Align it with the housing and carefully place it inside. Make sure it fits snugly and there are no gaps around the edges.

Step 6: Replace the Air Filter Housing Cover
Put the cover back on the housing and secure it with the bolts or screws. Make sure they're tightened properly, but don't over-tighten them as this could damage the cover or the housing.
Step 7: Test the Genset
Once you've replaced the air filter, start the genset and let it run for a few minutes. Check for any unusual noises or vibrations. If everything seems okay, you're good to go!
Tips for Maintaining Your Air Filter
- Regular Inspections: Check the air filter regularly, especially if you're using the genset in a dusty or dirty environment. You may need to replace it more frequently in these conditions.
- Keep it Clean: If the air filter isn't too dirty, you can clean it with compressed air. However, make sure to follow the manufacturer's instructions for cleaning.
- Use Quality Filters: Always use high-quality air filters that are designed for your specific genset. This will ensure the best performance and protection for your engine.
Other Related High-Voltage Diesel Generators
If you're in the market for other high-voltage diesel generators, we also offer Mining Diesel Generator, High Voltage Diesel Generator, and 11kv Diesel Generator. These generators are built to handle tough conditions and provide reliable power.
Contact Us for Purchasing
If you're interested in purchasing a 6.6kv Diesel Genset or any of our other high-voltage diesel generators, don't hesitate to reach out. We're here to help you find the right generator for your needs and provide you with top-notch customer service.
References
- Diesel Generator Maintenance Manuals
- Industry Best Practices for Generator Maintenance