Hey there! As a supplier of Soundproof Diesel Generators, I often get asked about the maintenance of these machines. One of the most common maintenance tasks is replacing the oil filter. In this blog, I'll walk you through the steps on how to replace the oil filter of a soundproof diesel generator.
Why Replace the Oil Filter?
First off, let's talk about why it's so important to replace the oil filter regularly. The oil filter in your diesel generator plays a crucial role in keeping the engine running smoothly. It traps dirt, debris, and other contaminants that can wear down the engine components over time. If the filter gets clogged, it can't do its job effectively, and that can lead to reduced engine performance, increased fuel consumption, and even engine damage. So, replacing the oil filter at the recommended intervals is a must to keep your generator in top-notch condition.
Tools and Materials You'll Need
Before you start the replacement process, make sure you have all the necessary tools and materials on hand. Here's what you'll need:
- A new oil filter that's compatible with your generator model. You can usually find this information in the generator's user manual.
- An oil filter wrench. This tool makes it easier to remove the old filter and install the new one.
- A drain pan to catch the oil that will come out when you remove the filter.
- A clean rag to wipe up any spills.
- Safety gloves and goggles to protect your hands and eyes from the oil.
Step-by-Step Guide to Replacing the Oil Filter
Now that you have everything you need, let's get started with the replacement process. Here are the steps:
Step 1: Prepare the Generator
First, make sure the generator is turned off and has cooled down completely. This is important to avoid any burns from hot oil or engine components. You can also disconnect the battery to prevent any accidental starts during the maintenance process.
Step 2: Locate the Oil Filter
The next step is to locate the oil filter on your generator. The location can vary depending on the make and model of the generator, but it's usually near the engine. You can refer to the generator's user manual for the exact location. Once you've found the filter, place the drain pan underneath it to catch the oil.
Step 3: Remove the Old Oil Filter
Using the oil filter wrench, loosen the old oil filter by turning it counterclockwise. Be careful not to overtighten the wrench, as this can damage the filter or the engine. Once the filter is loose, you can remove it by hand. As you remove the filter, some oil will spill out into the drain pan, so be prepared for that.
Step 4: Inspect the Filter and the Mounting Surface
Take a look at the old oil filter to see how dirty it is. If it's extremely dirty or clogged, it's a sign that you need to replace the filter more frequently. Also, inspect the mounting surface where the filter was attached. Make sure it's clean and free of any debris or old gasket material. If there's any dirt or debris, use a clean rag to wipe it off.
Step 5: Prepare the New Oil Filter
Before installing the new oil filter, you need to prepare it. First, apply a thin layer of fresh oil to the rubber gasket on the top of the filter. This will help create a good seal and prevent any oil leaks. Then, fill the new filter about halfway with fresh oil. This will help prime the oil system and reduce the time it takes for the oil to circulate through the engine when you start it up.
Step 6: Install the New Oil Filter
Carefully install the new oil filter onto the mounting surface. Turn it clockwise by hand until it's snug. Then, use the oil filter wrench to tighten it an additional 3/4 to 1 full turn. Be careful not to overtighten the filter, as this can damage the gasket or the filter itself.
Step 7: Check the Oil Level
Once the new filter is installed, check the oil level in the generator. You can do this by using the dipstick. If the oil level is low, add the recommended type and amount of oil until it reaches the proper level.
Step 8: Start the Generator
After checking the oil level, start the generator and let it run for a few minutes. Check for any oil leaks around the filter and the oil drain plug. If you notice any leaks, turn off the generator immediately and tighten the filter or the drain plug as needed.
Tips and Tricks
Here are some additional tips and tricks to make the oil filter replacement process easier and more efficient:
- Always use a high-quality oil filter that's recommended for your generator model. A cheap or low-quality filter may not provide adequate filtration and can lead to engine problems.
- Keep a record of when you last replaced the oil filter. This will help you stay on top of the maintenance schedule and ensure that you're replacing the filter at the recommended intervals.
- If you're not comfortable doing the oil filter replacement yourself, you can always take your generator to a professional mechanic. They have the experience and tools to do the job quickly and safely.
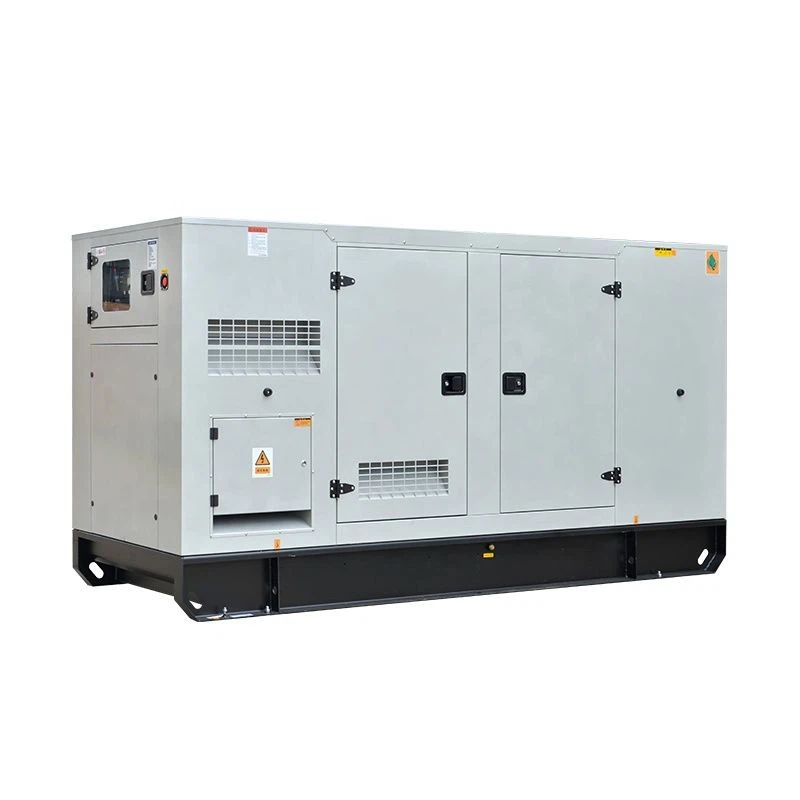
Our Soundproof Diesel Generators
At our company, we offer a wide range of soundproof diesel generators to meet your power needs. Whether you need a 200kw Silent Diesel Generator for a large industrial application or a 100kw Silent Diesel Generator for a small business or home, we've got you covered. Our generators are designed to be quiet, reliable, and fuel-efficient, making them the perfect choice for any situation. We also offer Low Noise Diesel Generator options for those who need a generator that won't disturb the peace.

Contact Us for Purchasing
If you're interested in purchasing a soundproof diesel generator or have any questions about our products, don't hesitate to contact us. We have a team of knowledgeable and friendly sales representatives who can help you find the right generator for your needs and answer any questions you may have. We're committed to providing our customers with the best products and services, and we look forward to working with you.
References
- Generator User Manual
- Diesel Generator Maintenance Guides


